
Hello hello! =) How's everybody doing?!
Here comes the second Japanese look... my Japanese looks are similar because they're all trying to achieve the same effect... just showing different variations. The good news is... the techniques are basically the same XD
First, I applied primer for smoother foundation application. I used Bare Escentuals bareVitamins Prime Time to prime my face, and Bare Escentuals bareVitamins Prime Time Eyelid Primer to prime my lids.
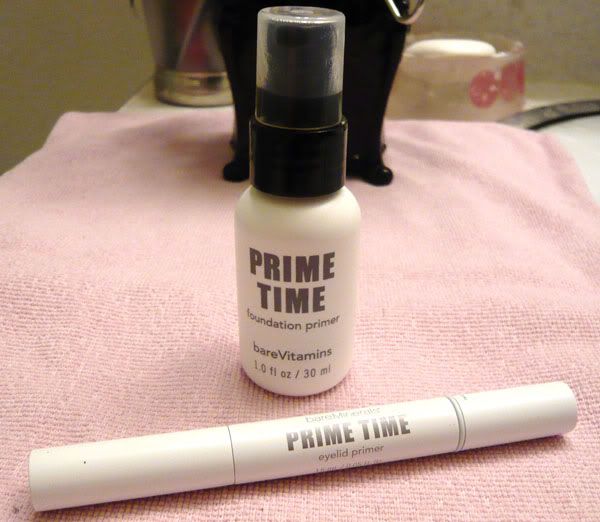
(technically I applied foundation first before I primed my lids)
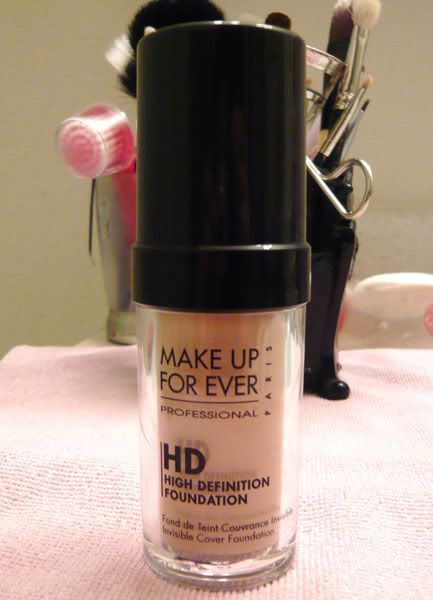
Then I used my MAKE UP FOREVER HD foundation in #115
So this time, with eyeshadow, I used "Muchness" for my lid color, and I used a little bit of both "Midnight Tea Party" and "Chessur" for outer eye corner. I also smudged a little of eye shadow onto the lower lash line. Also, I used white shimmery eyeshadow to highlight my inner corners.
Next, I lined my eyes. Here's the map =)

The red part is the map for black eyeliner. I used eyeliner to map out how I wanted to place my lower lashes, which is the blue part. For this, I used a bronze eyeliner ("Bronze" from Smudgepot, Stila), and just very lightly draw it out. Notice how I sort of drag the line more vertically down, then curve the line toward the inner corner of my eye in a flat line. This helps give the illusion of bigger eyes =) Use it light hand cuz we don't want the eyeliner to show too much, but do darken/thicken the outer corner as demonstrated in this picture. Then I take that bronze eyeliner again and trace the purple part on the map. This makes your pupil look rounder. *The reason why I chose bronze not black is because black tends to weigh our lids down.* Black should be avoided when you're working on areas closer to your inner corners (especially if you have the same eye shape/eyelids as mine!) Don't forget to rim your waterline with white eyeliner! And... define your eyebrows! XD
So now it's time to apply our falsies =D
For upper lashes I'm using "Black-Glamour 974A" from New York Color (can be found at local drugstore).
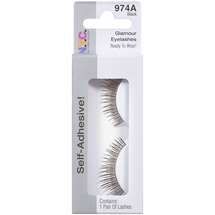
I don't think it really matters what kind of upper lashes you get... there are so many good ones out there so just pick your favorite =)
For bottom lashes I'm using MAC lash #40 (again.. not posted on website for some reason).
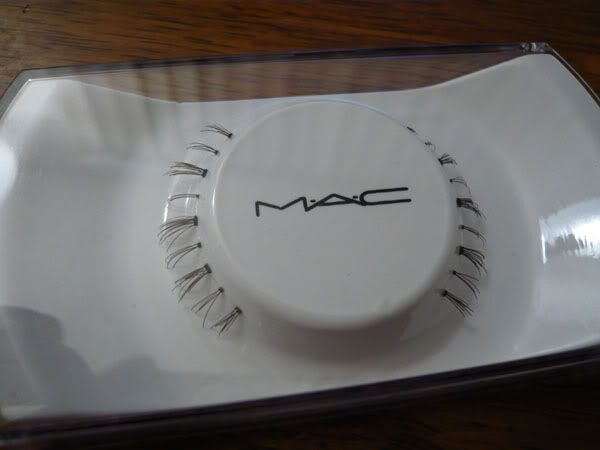
Those lashes I had to fix them too... it's always hard to find the perfect lashes, but it's cool we can always try to work with them =)
Here's a picture to help:
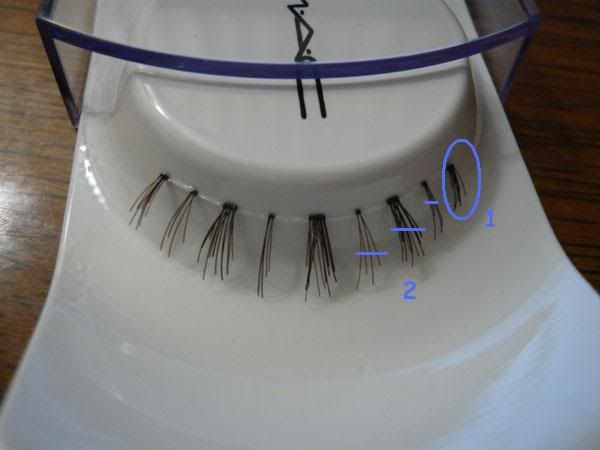
You'd notice all the hairs on these lashes are of same length... we don't want that. Lashes closer to the inner corner should always be the shortest, then gradually fan out, increasing in length. Since the length of these lashes (not the hair length) are perfect for the length of my eyes, I just snap off the first bundle of hairs, like the ones circled in the picture (#1). Then I trimmed the next three bundles of hairs (bundles? lol sorry can't think of a better way to describe!) Lengths are indicated in the picture (#2). So now you have progressively shorter lashes toward the inner corner of your eyes =D (you could try to hold the un-manipulated lashes in front of your eyes to see how awkward and weird they are if the lashes in the inner corner are the same length as the outer...)
Now... Tah-dah! here's what we have =)
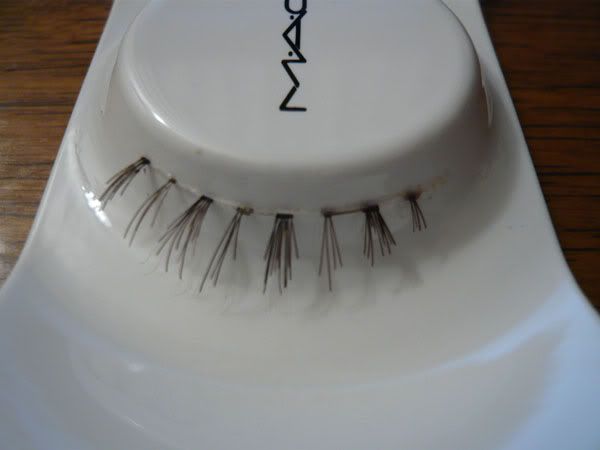
Repeat the same for the other one. Then just follow the map your drew out with your bronze eyeliner, this should make the application of bottom lashes so much easier! :P
For the rest of my face, I used "Gerbera" from Stila Convertible Color (makes you look young!) for blush, and Viva Glam GaGa lipstick for lips, finishing off with a little bit of Victoria Secret gloss.
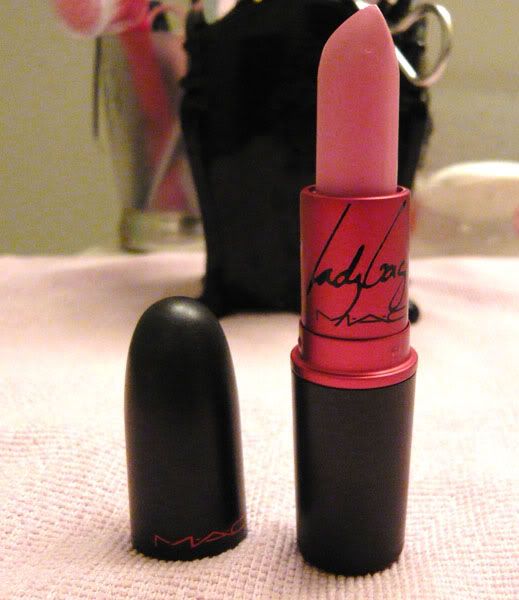
Viva Glam GaGa is a gorgeous bubble gum pink =) If you don't have this, anything that's baby pink or bubble gum pink will do.
Here are more pictures for this look =)

(Sorry if my poses make you want to throw up... XD)


(WTF?! My hand seriously looks like chicken feet!)


Again... thanks for reading! This is very long I know >__< hope you guys liked it!!!
Have a beautiful day and good luck if you're trying this out :D
<3 Frances

nice makeup look! your eyes do look nice :)
ReplyDeleteawh. very cute ! ♥
ReplyDeletethank you :) <3
ReplyDeleteawh. very cute ! ♥
ReplyDelete